A Guide to Unpicking
Share
Unpicking. We've all done it, haven't we? And the more you ‘practice’ unpicking, the better and quicker you become!

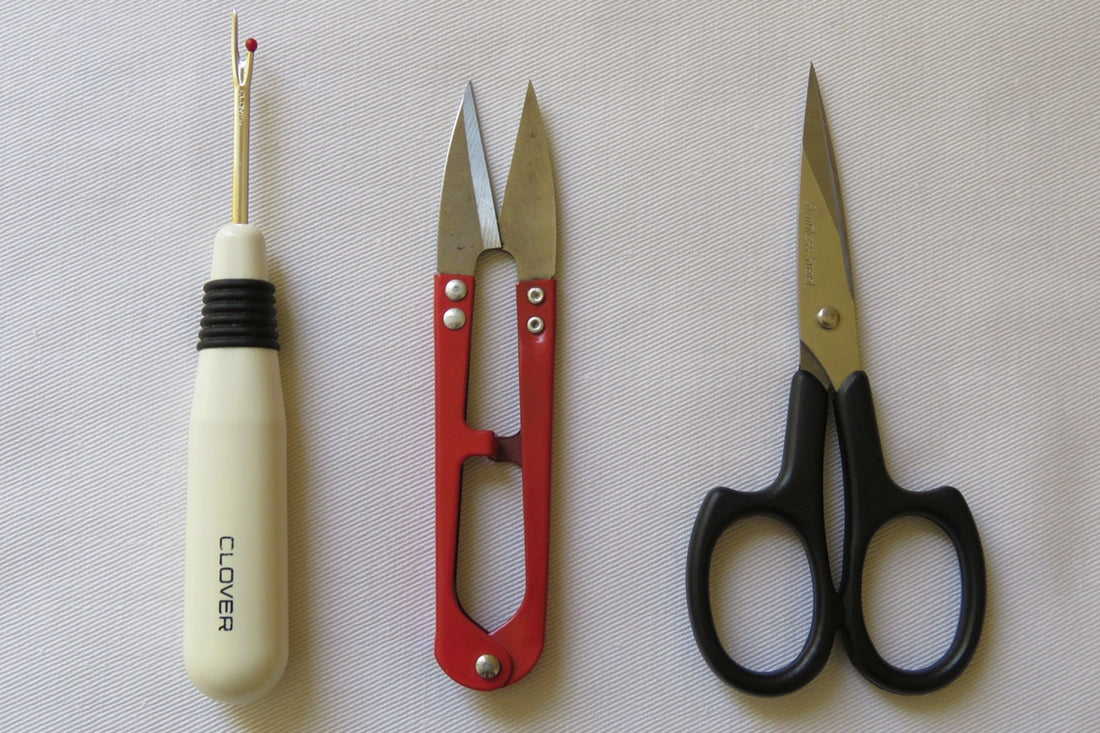
The best tools for unpicking are a good-quality unpicker that's nice and sharp, and/or a pair of thread snips. Some people prefer fine, sharp embroidery scissors.
TIP: If you're unpicking because the stitching is in the wrong place – it's easier to resew the seam before unpicking the old one. That way, the fabric is held together as you resew.
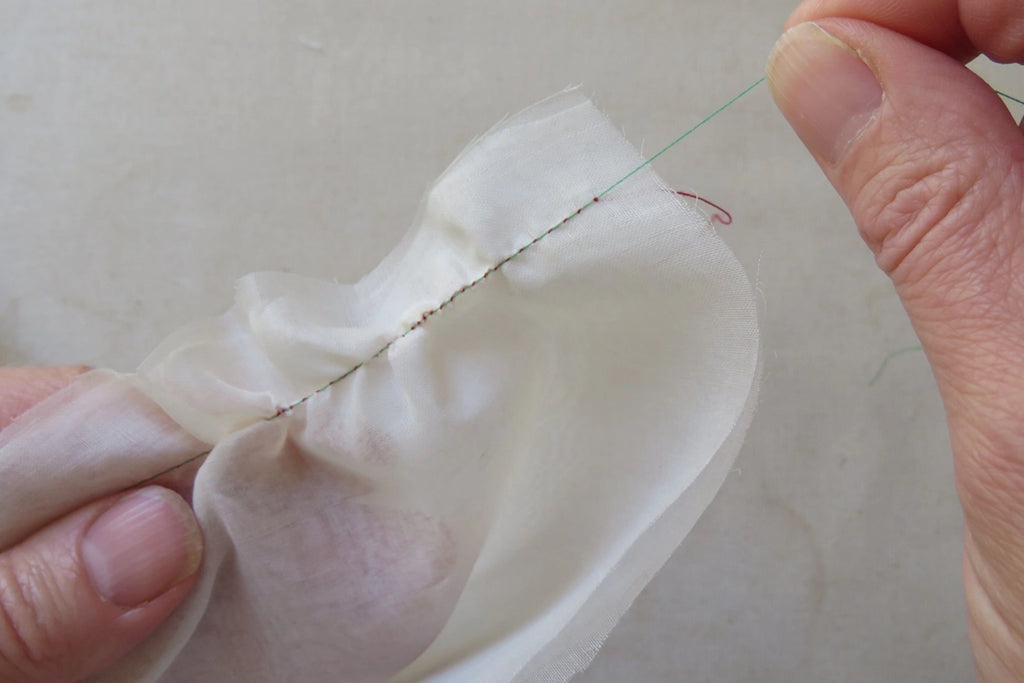
If the fabric is fine, lightweight or a lining, it's very simple to pull one thread out. If the seam is long, snip the thread at intervals.
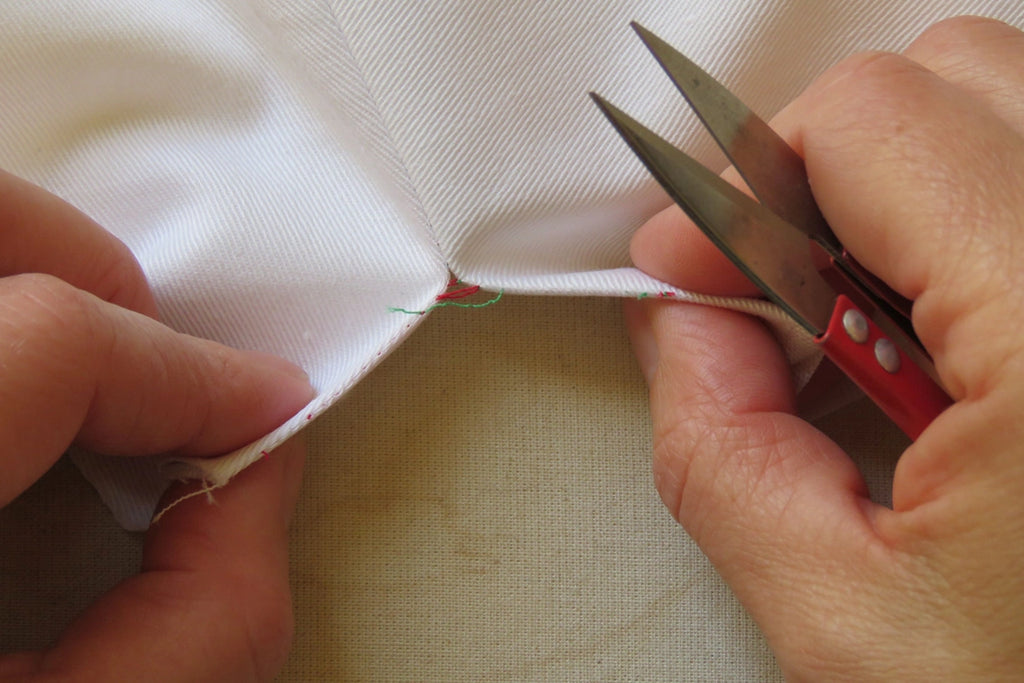
For other fabrics, you can either:
Pull the edges of the seam apart and snip the stitching, pull again until you feel resistance, then repeat. Afterwards, go through and pick out all the little ends of the thread.
OR
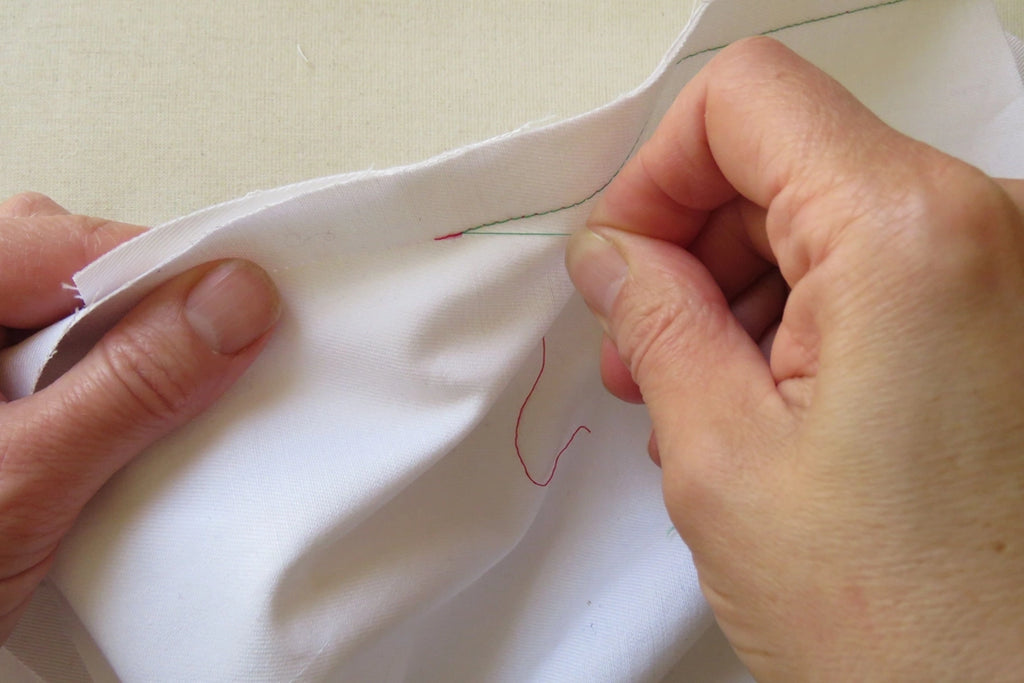
Hold one thread and quickly pull it back on the stitching until the stitching breaks. Turn the seam over, find the end of the thread, and do the same thing. Repeat, alternating each side. Once you get going you won't need any tools, just your hands. The advantage of this method is not having bits of thread to remove afterwards.
Unpicking chain stitching
Chain stitching is one of the easiest things to unpick. It's usually sewn with only one thread, but sometimes two depending on the machine it was sewn with. Chain stitching is often seen on jeans waistbands and leg seams, flat-felled seams on men's shirts, and the tops of sacks of flour or animal feed. Some overlockers make chain stitching as the safety stitch.
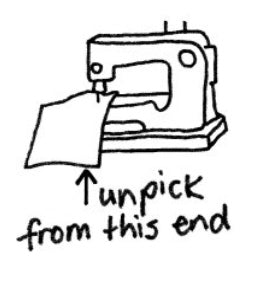
The key to undoing chain stitching is to find the correct end to start with. Once you start pulling the correct end, the whole seam will satisfyingly undo as you pull - like undoing knitting.
The correct end is where the stitching finished. Picture the seam being sewn, with the chain underneath and the straight stitching on top, with the bulk of the garment to the left-hand side. Cut the threads off next to this end and pull. If the chain stitch has been made with two threads, pull on both evenly.
Unpicking overlocking
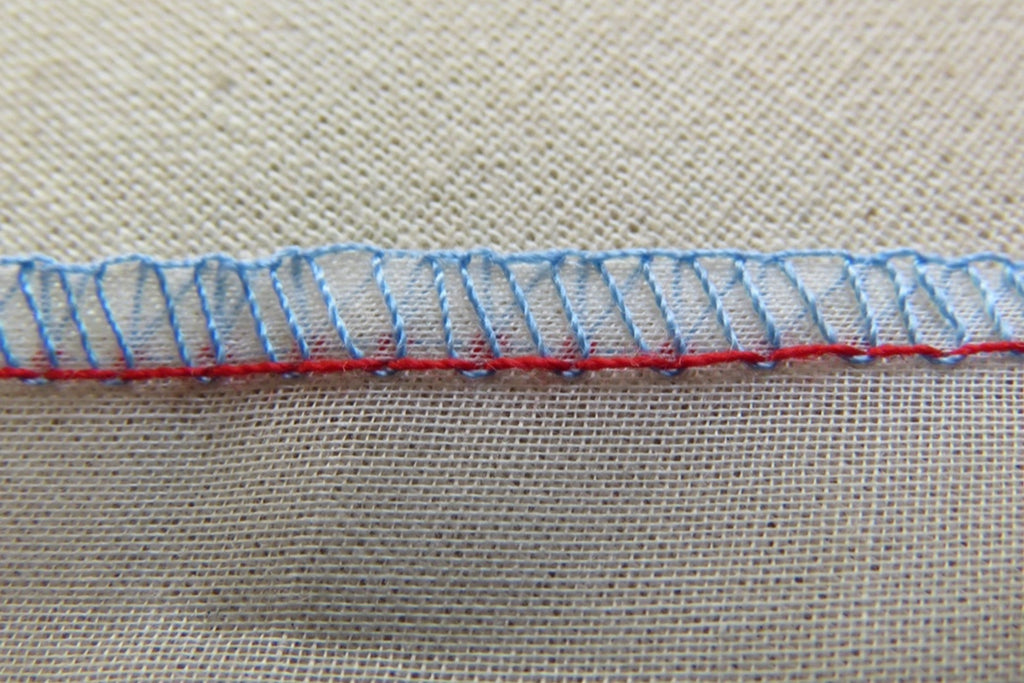
As with straight stitching, if the fabric is fine you can locate and pull out the needle thread (or both needle threads, if it's a four-thread overlocker. The photos show a three-thread overlock, and the red thread is the needle thread).
The remaining two threads (the upper and lower looper threads, the blue ones in the photo) will then just pull off. This leaves no bits of thread to pull out from the fabric.
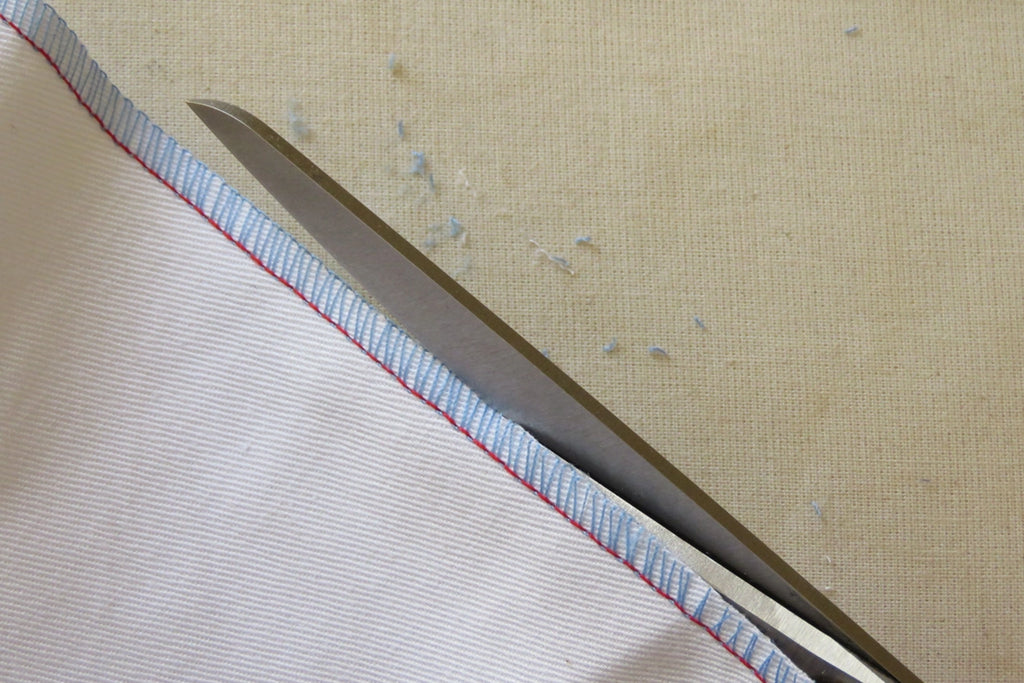
Otherwise, use a very sharp, long-bladed pair of scissors to trim off the threads on the very edge of the fabric, where the upper and lower looper threads meet. This relies on the overlocking having perfect tension, which of course, it does!
Pull the overlocking apart and remove all the bits of thread. Sometimes you can brush the threads out with a clothes brush if the fabric won't fray too much.
By the way, consider cutting the overlocking off completely, if it won't matter.
Author: Liz Haywood
www.lizhaywood.com.au
IG: @lizhaywood3754


